How to Make Quality Compost
Composting at home is an excellent way to deal with garden waste in an environmentally friendly way. Learn how with expert advice from Grow More Food authors Colin McCrate and Brad Halm.
Compost is a key ingredient for your soil fertility, and you have two choices for how to obtain it: Make your own or buy it. Composting at home is an excellent way to deal with garden waste in an environmentally friendly way. When you make your own compost, you theoretically have control over the quality of the compost that goes back into your garden.
Making compost can be a lot of work, and it takes some skill to make really good compost. In addition, many gardeners struggle with sourcing enough bulk ingredients like manure or straw to keep their nutrients in balance. Many growers do both—they buy large quantities of compost to get their garden started and for major fertility overhauls, and also create a pile to handle garden waste and produce smaller amounts for top-dressing beds.
Compost Piles & Windrows
You can produce a surprising amount of compost by maintaining catchall piles. This is probably what you think of when someone mentions composting; it’s the process of making a mound of your kitchen and garden scraps, yard waste, and other organic materials, and turning it frequently to mix oxygen in. If you maintain a proper carbon-to-nitrogen ratio (see chart below), keep the pile evenly moist, and turn it regularly, you’ll be able to produce quality compost.

If you’re able to source large quantities of raw materials and want to make a lot of compost, make a windrow instead of a pile. This is basically a long row of composting materials that’s at least 3 feet tall at the peak, 6 to 7 feet wide, and as long as you want to make it. The windrow shape is easier to turn than a single massive pile. You can turn a windrow by hand, but most growers use a small tractor with a front-end loader or a specialized compost turner. If you have a manure spreader for your tractor, you can use it to build the pile. Fill the spreader with raw composting ingredients, set the spreader to unload as quickly as possible, and drive forward as slowly as possible. The spreader will unload the ingredients into a windrow shape. To get the right shape, you’ll need to fine-tune this method depending on your tractor and spreader.
Static, Aerated Composting
Don’t want to spend time turning your compost? Some growers construct homemade aerators to force air through their compost piles using blower fans and perforated pipes. This supplies enough oxygen for the pile to heat up and break down without turning. A search of the internet for “static aerated composting” will yield small-scale designs for such a system. You can also “cold compost,” which is basically piling up your compost ingredients and letting them sit until they’ve broken down. The risk with this method is that the pile doesn’t heat up as much as an aerated pile does, so weed seeds and pathogens may still be present in the pile. A “cold” pile might take anywhere from 2 to 5 years to be ready for use in the garden.
Sourcing Bulk
Materials to Compost
Whichever compost technique you choose, you may find yourself wishing you had more stuff to throw on the pile, especially once you’ve seen how beneficial compost can be for your crops. Here are some tips on acquiring more material.
- Many grocery stores will give you damaged or old produce for free. This makes a great high-nitrogen addition to compost piles. It helps if you bring your own containers (5-gallon buckets work well) and show up at a set time that’s convenient for the produce manager.
- Coffee shops and restaurants will often let you have their spent grounds, another nitrogen-rich compost feedstock. Ask if you can leave 5-gallon buckets for them to fill up.
- Check with neighbors who rake leaves in their yard. They’ll probably be happy to hook you up with a few trash bagfuls. Hardwood leaves are a great carbon source and are loaded with minerals. Return the favor with a few bags of salad greens in spring.
- Horse stables are often a great source for free manure. Manure mixed with straw bedding is easiest to compost. If the horses are bedded on sawdust or wood chips, add additional nitrogen to the pile and compost for a full year before you add the finished product to your garden.
- Chicken, pig, and cow manure from a local farm are all great nitrogen sources for your compost pile.
- Keeping your own livestock is a great way to convert garden waste into manure for compost. Even urban dwellers with relatively small lots can successfully raise a happy flock of chickens.
How to Make Compost
If you have the space, time, and access to ample feedstocks, making your own compost is a great way to feed your garden and process your plant wastes.
Getting the Right Ratio
When adding materials to the compost pile, it’s important to get the right ratio of carbon (“brown” debris) to nitrogen (“green” waste). Your goal is to achieve a carbon-to-nitrogen ratio of about 25:1. Bacteria will break down organic waste into usable compost most efficiently at this ratio.
Certain ingredients lend themselves incredibly well to this process. For example, the C:N ratio of horse manure is about 30:1 to 35:1, so horse manure on its own, or with a little bit of straw bedding mixed in, makes amazing compost. If there’s too much straw bedding or the manure is mixed with sawdust or wood chips, you’ll probably need to add more high-nitrogen materials. Chicken manure mixed with bedding makes great compost, as does young grass clippings or coffee grounds mixed with brown leaves or straw.
You don’t have to be too precise with your ratios or measuring amounts of ingredients when building a compost pile. Many home growers are limited to the ingredients that have come from their yard, garden, kitchen, and other nearby sources, so may not have the luxury of using an ideal balance of ingredients.
After gaining some experience maintaining compost piles, you’ll develop a good general feeling for whether a given pile needs more green or brown material. It’s a good idea to keep a straw bale or stash of dead leaves on hand to mix in with green, high-nitrogen garden waste or kitchen scraps. When the pile reaches the desired size—about 3 feet by 3 feet by 3 feet—you should start turning it. If you run into problems, add more browns or greens each time you turn it to balance things out.
What Not to Include
We recommend not including vigorous weeds and those that have set mature seed in your home compost pile. This is because it can be difficult to create temperatures high enough to kill weed seeds and invasive weed roots. The same is true with diseased or heavily insect-infested plant matter. Also, be wary of using sawdust, bark mulch, or wood chips in your compost, as the high carbon levels in these materials can tie up soil nitrogen if the compost is not fully finished when applied. Sawdust is generally devoid of other nutrients and minerals, so compost made with large quantities of sawdust tends to be of lower quality. Other ingredients to avoid: meat, bones, colored paper, waxed cardboard, human waste, oils and fats, pet waste, and pine needles.
Bigger Is Better
Composting works better when you go big—it’s easier to build up the heat that helps drive the composting process in a larger pile. If you’re composting in a catchall pile, 3 feet by 3 feet by 3 feet should be the minimum volume of the pile before you start turning it. Smaller piles break down very slowly, and won’t ever develop enough heat to kill pathogens and weed seeds.
The compost pile should also be consistently moist, but not overly wet—like a wrung-out sponge—to facilitate decomposition. Water the pile with a hose if it feels too dry. Cover the pile with a tarp during heavy rains so it doesn’t get soaked and to prevent nutrients from leaching out of the pile. If the pile does get too wet, you can add dry brown material to help soak it up.
Turn, Turn, Turn
Turn the pile frequently with a pitchfork or garden fork—as often as once a week—for rapid breakdown. You can turn it less frequently (every other week, once a month, or less often), but it will break down more slowly. If you’re concerned about rodents and other critters, turn the pile at least every 2 weeks. This maintains high temperatures in the pile and greatly speeds breakdown, both of which make the pile less attractive to pests.
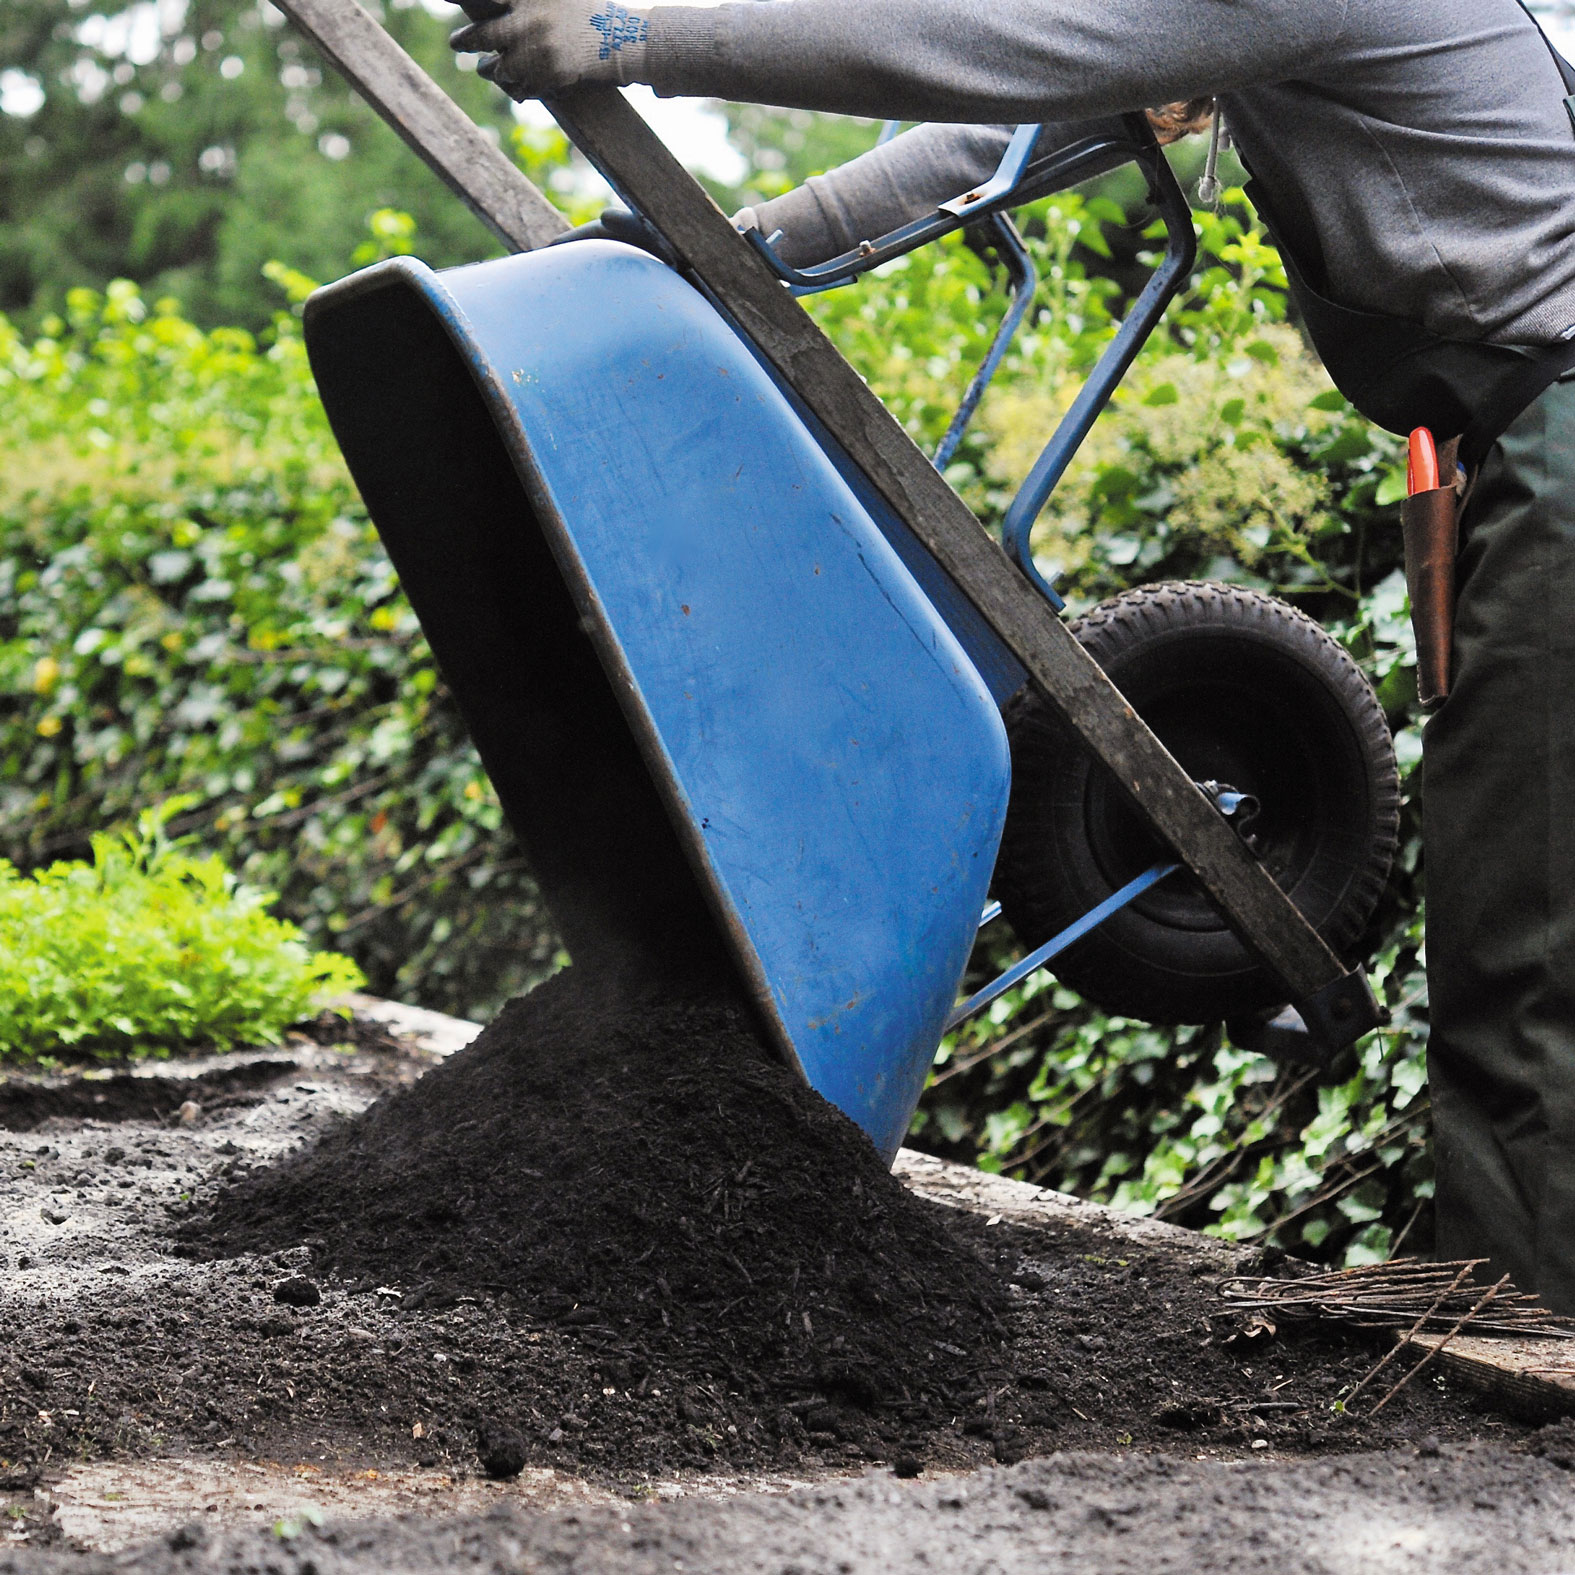
When turning a pile, you want outer layers to move to the middle of the pile, and the middle of the pile to end up on the outside. To do this, start by forking the top of the pile onto the ground next to the pile. Keep moving the pile over from the top down until you have a new pile. The top of the old pile is now at the bottom of the new pile, and vice versa. If you have space, you can leave the new pile where it is. If not, you can fork it back to its original position.
Tracking the Temperature
If you have a soil thermometer, you can use it to help with monitoring the pile. Stick it in the pile after you turn it for the first time. Check the temperature each day. Over the course of a few days or a few weeks, depending on your balance of feedstocks, the temperature will rise, peak, and then start to fall. If it starts to fall before reaching 130 to 140°F (54 to 60°C), add more nitrogen-rich ingredients the next time you turn it. If it gets over 150°F (65°C), it probably needs more carbon-rich ingredients. Turn the pile as soon as possible, as temperatures over 150°F (65°C) can kill beneficial bacteria.
When ambient temperatures are low, especially when they’re below freezing, the composting process usually slows or stops. Home compost is most easily made during late spring, summer, and early fall in most climates. During winter, you can cover the pile with a tarp and let it sit until more favorable temperatures return in spring.
Fine-Tuning Your Pile
If your compost pile smells particularly strong, bad, or like ammonia, add more brown materials. If you accidentally get too many brown materials in your pile (or just have a lot of them and want to get them to compost), you can add blood meal or another high-nitrogen organic fertilizer to balance out the C:N ratio. Consider covering your pile with a thin layer of brown materials, such as straw or leaves, to minimize insect pests and odors.
The compost is finished when it looks like soil and feels and smells earthy. A compost pile that is well balanced and turned frequently might be ready to apply to the garden in 3 months. A less frequently turned pile might take 6 months to a year.
If you have space, make compost in separate batches. When one pile has enough bulk to start turning, stop adding new materials (unless balancing the C:N ratio is necessary). Start a second pile while you’re turning the first one, and a third pile while you’re turning the second. This allows all the ingredients in each pile to break down fully and uniformly. If you add a lot of fresh materials to a pile midway through the composting process, they won’t be decomposed when the rest of the pile is finished.
Excerpted and adapted from Grow More Food © by Colin McCrate & Brad Halm.
Along with chapters devoted to the Five Tenets of a Productive Gardener (Plan Well to Get the Most from Your Garden; Maximize Production in Each Bed; Get the Most out of Every Plant; Scale up Tools and Systems for Efficiency; and Expand and Extend the Harvest), the book contains interactive tools that home gardeners can use to assist them in determining how, when, and what to plant; evaluating crop health; and planning and storing the harvest. For today’s vegetable gardeners who want to grow as much of their own food as possible, this guide offers expert advice and strategies for cultivating a garden that supplies what they need.